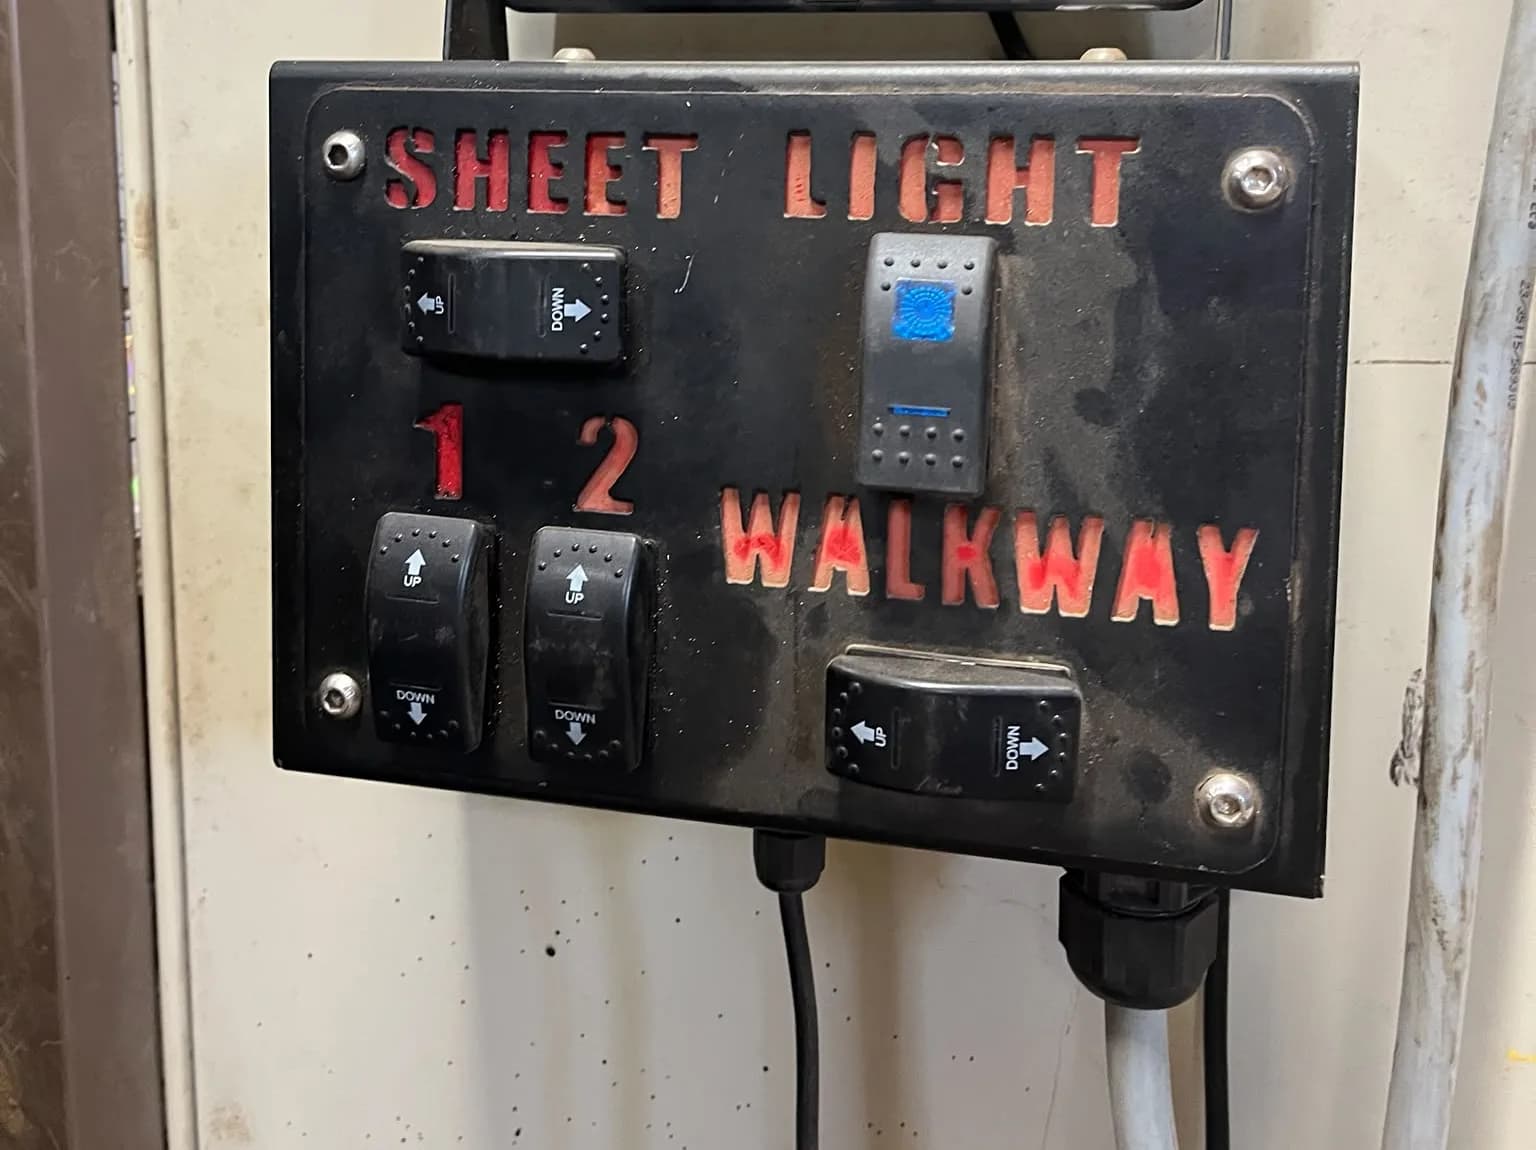
Parts for a DIY relay box cost less than an ISOBUS Block. This post is the honest side-by-side: what the extra money actually buys, where the DIY route still wins, and how to tell which one your machine needs. Both approaches switch the same loads through the same relays. The difference is entirely in how you reach them from the seat.
What a DIY relay box actually is
The traditional build is a cab-mounted toggle panel with 1 to 8 toggles across the front, a single multi-core cable out through the back window, and the relays sitting on the implement or inside the panel itself. Each toggle feeds one core, the core feeds one relay coil, and the relay switches the solenoid, the work light or the beacon at the far end.
That is the whole circuit, and it has run farms for decades. It is cheap, it is repairable at the counter of any agricultural dealer, and the failure modes are all things a person can see with a test lamp. Nobody should be talked out of it on principle. The cab-mounted switch box post goes through what that panel is and how a migration off it works in practice.
The parts list is short: a fused relay board or a row of automotive relays, quality toggles, a multi-core cable long enough to reach the implement with slack, a grommet for the window, connectors at both ends, and a weatherproof box for whatever ends up outdoors. Add a weekend of routing, terminating and labelling, and you have a working control panel.
What ISOBUS Block changes, and what it does not
ISOBUS Block is a relay module that plugs onto the tractor's ISOBUS network. It comes as an 8-channel module and a 32-channel module; this post uses the 8-channel one, since that is what a toggle panel is usually compared against. The 8 channels show up on the tractor's Virtual Terminal as CH1 through CH8, each with a name and an icon you type in on the screen. Each channel runs as TOG (latching) or MOM (momentary), set per channel. Assign any of them to a joystick trigger or an armrest button through the tractor's own AUX-N menu and the relay switches from the button your hand is already on. The ISOBUS implement control guide covers how the screen and the armrest fit together.
What does not change is the part people expect to change. Block switches the control side only. The relay outputs are NO / COM / NC screw terminals at 10 A per channel, and the load wiring on the implement stays exactly as it was. Hydraulic hoses run as before. Solenoid coils, valve blocks and lamps are untouched. A relay closing a circuit to a solenoid is a relay closing a circuit to a solenoid, whether a toggle or a joystick button asked for it.
Two more things worth stating before the comparison, because they cut the other way:
- The bare module is IP20 in a DIN-rail ABS housing. Mounting it on an implement means supplying your own weatherproof enclosure, exactly as a DIY relay board would.
- The connector kits (In-Cab and External) ship the mating ISOBUS connector with loose contacts. You crimp them. There is no pre-made harness.
ISOBUS Block vs a DIY relay box, side by side
| DIY relay box | ISOBUS Block | |
|---|---|---|
| Parts | Relays, toggles, multi-core cable, connectors, fuses, enclosure. Cheaper than the module, by a wide margin | Module, connector kit, your own enclosure and load wiring |
| Install work | Mount the panel, drill or grommet the back window, run and terminate the multi-core cable, label every toggle | Mount the module, wire loads to the screw terminals, crimp the ISOBUS connector, name the channels on the screen |
| Controls in the cab | Toggles on the panel, wherever you could reach and mount it | Softkeys on the tractor's Virtual Terminal, plus AUX-N joystick and armrest buttons |
| Labelling | Engraved plate, tape, or memory | Name and icon per channel, typed on the screen. The same name shows up in the tractor's AUX-N assignment menu |
| Switching behaviour | Whatever toggle you bought. Latching or momentary is a parts-counter decision | TOG or MOM per channel, changed on the screen |
| Moving between tractors | Move the panel and the loom, or build a second set | Unplug the ISOBUS lead, plug into the next ISOBUS tractor. Names and icons come back. AUX-N buttons are assigned once per tractor |
| Weatherproofing | Your box, your rating | Your box, your rating. The bare module is IP20 |
| Warranty | Per component, and your own labour on top | 5 years on the module |
| Certification | Whatever the individual parts carry | CE marked |
The cost, honestly
A DIY box built from quality parts is genuinely cheaper than the module, and anyone who has built one knows it. Relays and toggles are commodity items. The cable is the expensive part, and it is still not close.
Where the arithmetic shifts is repetition and reach:
- Per extra tractor. A toggle panel belongs to the cab it was mounted in. Run the same implement behind a second tractor and you move the panel and the loom, or you build another one. An ISOBUS module rides with the implement and plugs into whatever ISOBUS tractor is hitched that day.
- Per extra function. Eight toggles means eight cores, eight terminations at each end, and a panel wide enough to hold them. Eight channels on a module is the same one ISOBUS lead.
- Labour. A weekend is a weekend. If you enjoy it, it costs nothing. If you are paying someone, it is the largest line on the invoice.
- The cab. No panel bracket, no hole through the back window, no grommet going brittle over ten winters.
None of that makes the DIY box a mistake. It makes it a decision with a different shape of cost.
When building your own is the right answer
Three cases where the traditional relay box for the implement is still the better buy:
- No ISOBUS on the tractor. Block only speaks ISOBUS. No socket on the tractor, no way to plug in. The ISOBUS compatibility guide has the checklist for working out what your machine has.
- No Virtual Terminal. Channel names, icons and
TOG/MOMare configured on the VT. A tractor with an ISOBUS socket but no terminal cannot set the module up in the first place. - One or two functions on one machine that never moves. A single diverter valve on a trailer that lives behind one tractor does not need a bus, a screen or eight channels. It needs a switch.
When the module earns the difference
The case for buying is short and it is not about the relays:
- No switch panel in the cab, and no multi-core cable through the window.
- The buttons are the ones the operator already holds. A hand stays on the joystick.
- Named channels with icons instead of a plate that says SW3.
TOGorMOMper channel, changed on the screen rather than at the parts counter.- The same box works on any ISOBUS tractor, without a second panel and a second loom.
- Five years of warranty and CE marking on the control hardware.
If the implement needs a channel count that is not 8, or specific connectors and cable lengths, an ISOBUS Block custom build ships hardware pre-configured for one machine, with button names and icons already set. For the full picture on fitting a module to an implement that has never seen ISOBUS, see the ISOBUS retrofit guide, and for the connector itself, the ISOBUS connector pinout guide.
Frequently asked questions
Is a DIY relay box cheaper than an ISOBUS relay module?
In parts, yes, clearly. Relays, toggles, cable and connectors come to a fraction of the module's price. The module costs more because of what sits between the operator and the relay: the tractor's own screen and buttons, named channels, and a box that moves to any ISOBUS tractor without rebuilding the cab side.
Can I control my own relay box from the tractor's ISOBUS screen?
Not directly. An ordinary automotive relay board has no way to talk on the bus, so nothing appears on the Virtual Terminal. Something on the implement has to speak ISO 11783 and upload an interface to the terminal. That is the job an ISOBUS relay module does.
Does an ISOBUS relay module replace my hydraulic hoses?
No. It switches the control side: relay closes, solenoid coil energises, the valve does what it always did. Hoses, fittings, valve blocks and cylinders stay exactly as they are.
Do I still need a tractor switch box in the cab?
Not for the channels the module runs. The toggle panel and its multi-core cable come out, and the load wires that used to land on the toggle contacts land on the module's NO and COM terminals instead. Anything the module does not switch keeps whatever control it had.
What wiring do I have to build myself?
The load side and the ISOBUS connector. You run leads from the screw terminals to each solenoid, lamp or valve, and you crimp the contacts in the connector kit onto your own cable with a standard crimp tool. Button assignment is done on the tractor screen and the AUX-N menu, with no tools at all. The AUX-N complete guide walks through the assignment procedure.
Need an ISOBUS relay module for controlling solenoids, work lights, or hydraulic valves? ISOBUS Block provides 8 relay outputs controlled directly from your tractor's Virtual Terminal display.